Archive
Let’s Do It !!!
Before you start double check you have:
- Mac OS X retail install disc
- CD/DVD with burned Empire EFI (BootCD)
- USB mouse or tablet
- AIOdownloads folder (probably on external flash drive)
Have all of them?
Let’s start then.
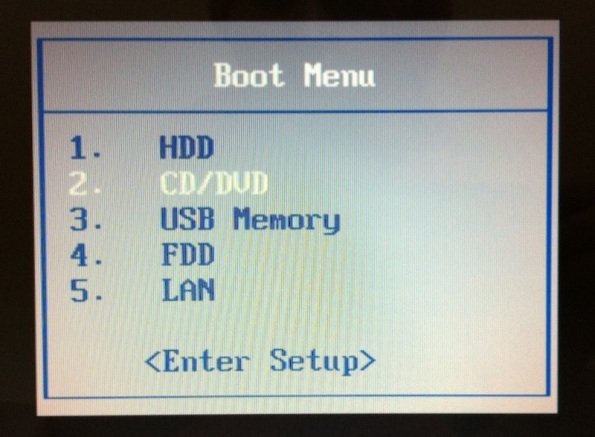
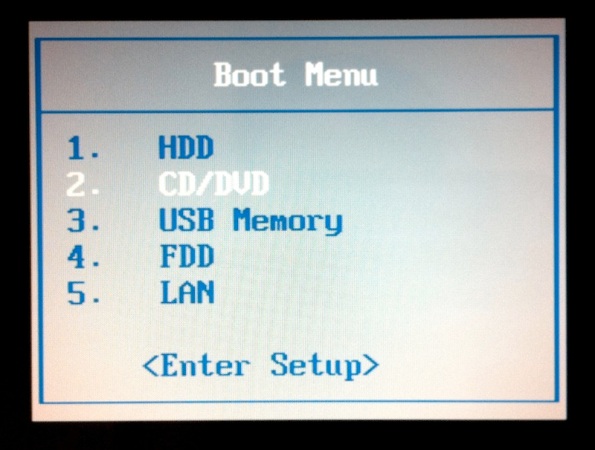
Power up your computer and choose CD/DVD drive to boot from.
BTW setting the boot order can be done in two ways:
- press F2, go to Boot Order, make sure CD/DVD drive is on top
- press F12, choose CD/DVD drive
The difference between those two options is that by choosing the second one you make only one time change, while the first option will change the booting order permanently (until next change).
It’s totally up to you.
I find the second option more convenient, so I’m going to stick to it.
Before you hit enter insert your CD with Empire EFI.
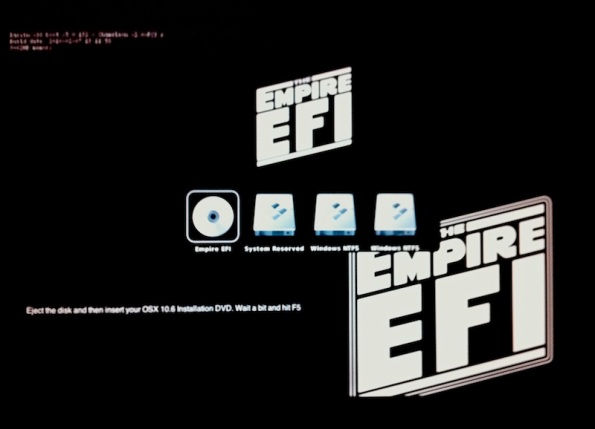
You will see something like this:
In this case my internal hard drive contained Windows 7 installation.
The drive was partitioned before that’s why you can see one “System Reserved” and two “Windows NTFS” partitions.
Follow the instruction on the screen. Remove Empire EFI and place OS X installation disc in the drive. Wait a bit and hit F5.
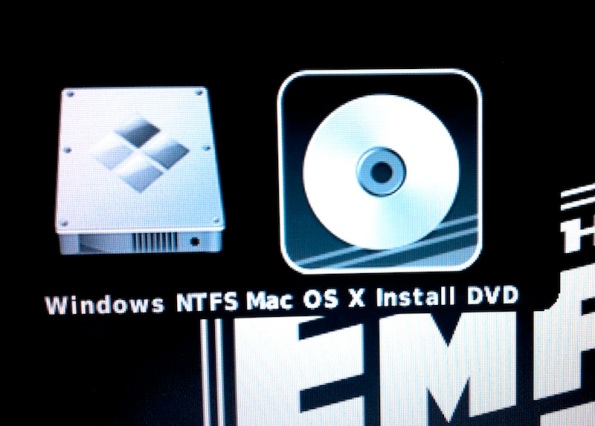
Before choosing “Mac OS X Install DVD” type:
GraphicsEnabler=Yes
PS. Don’t search for any box or space to type it in. Just lay your hands on keyboard and start typing. As soon as you touch any key, the text appears in the left bottom corner of your screen.
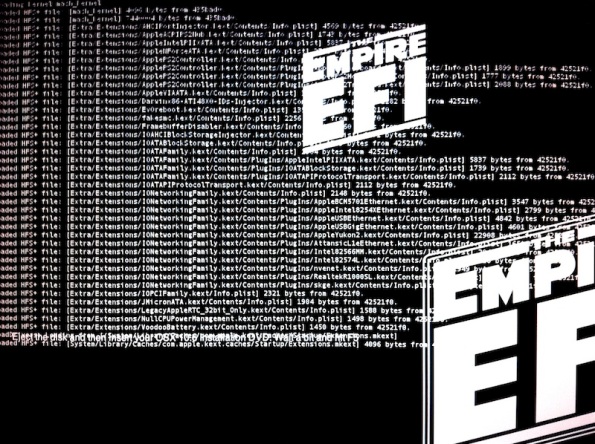
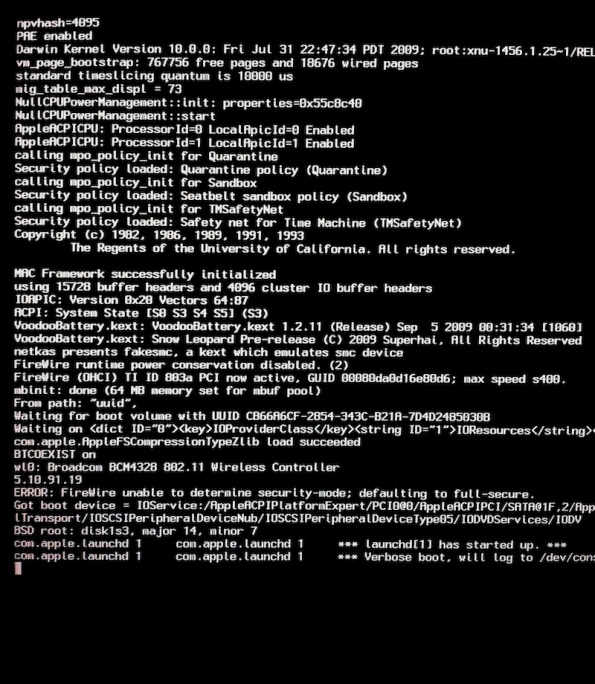
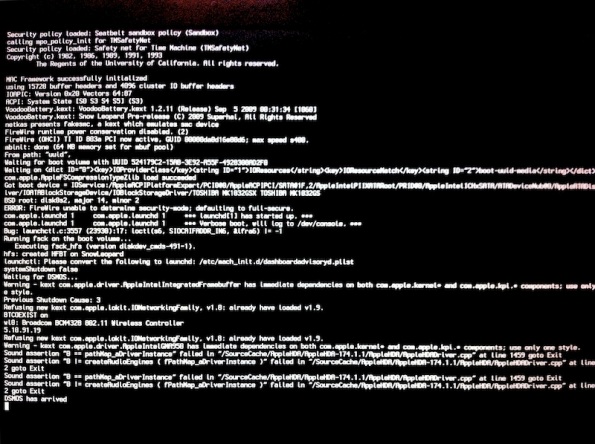
Hit “Enter”. The next few minutes will look like that:
And finally:
At this point you may notice that your trackpad is not working. It’s good to have a USB mouse or tablet and connect it to your laptop.
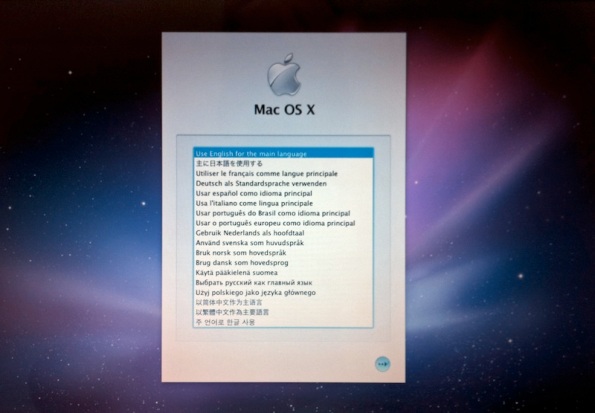
Choose your language.
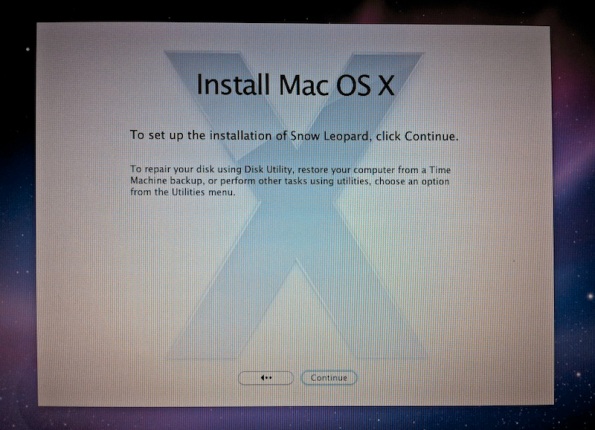
Before hitting “Continue” we need to prepare our internal hard drive for installation.
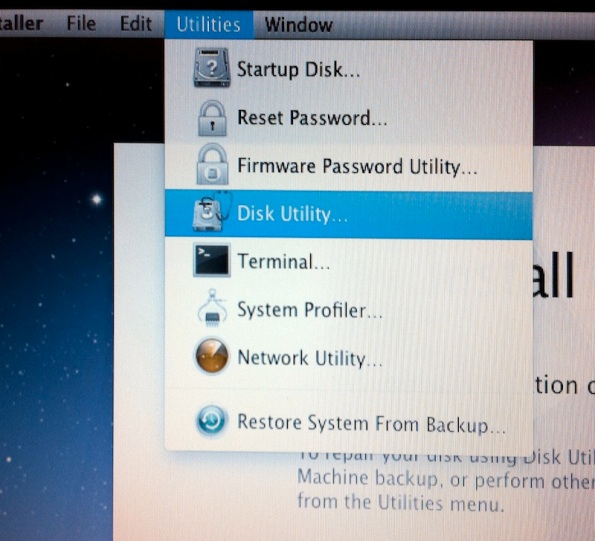
In menu bar choose “Utilities” and “Disc Utility…”.
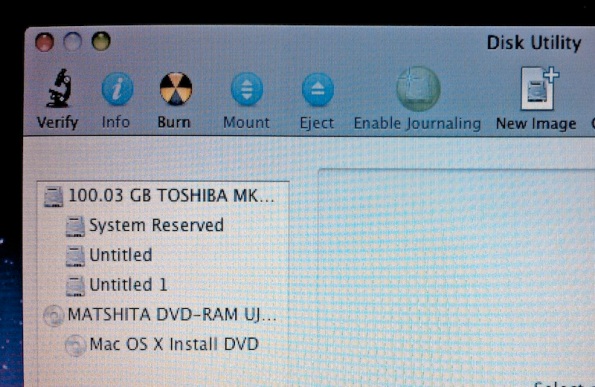
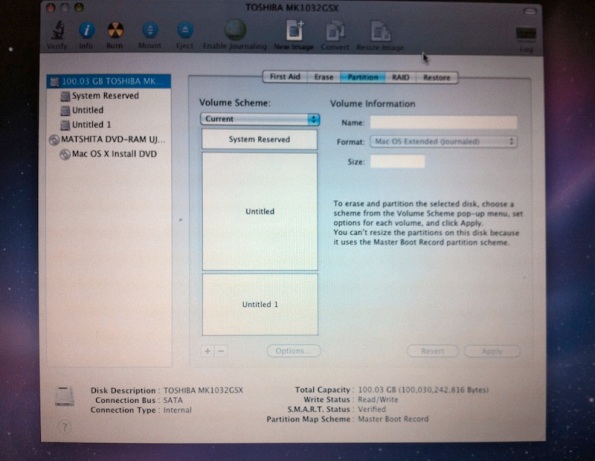
And here it is: my hard drive with Windows installation as seen by Disc Utility:
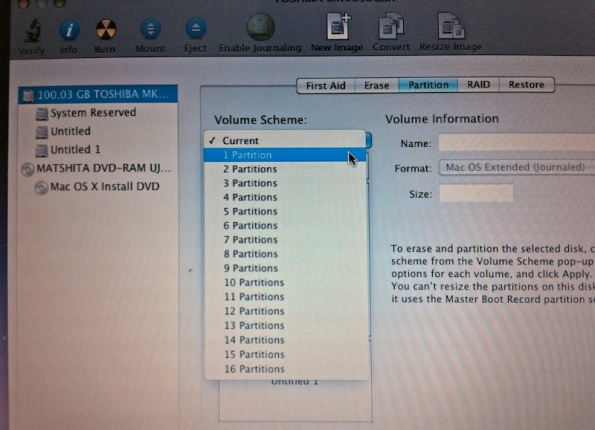
Just for this guide (to make it simple) I’m going to partition my hard drive into one partition.
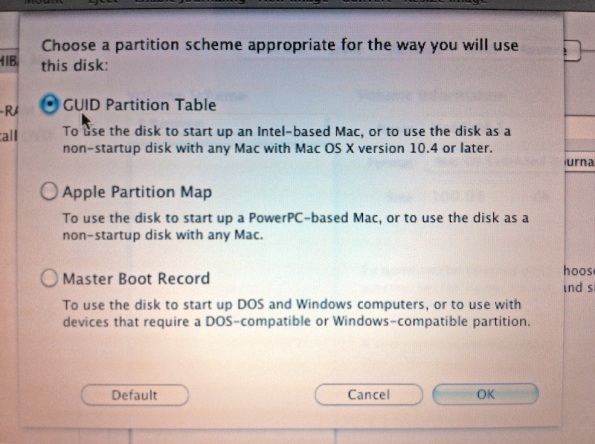
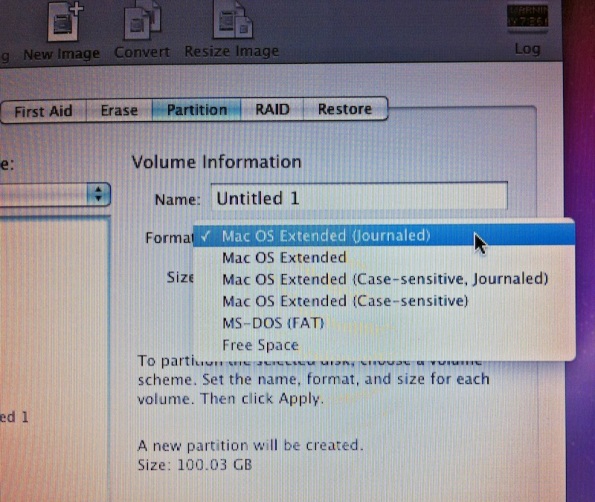
While Windows use NTFS file system, OS X needs HFS+ file system with GUID partition table scheme.
Here is how to format your drive properly:
At the bottom right of the table you should see “Options…”. Choose it and make sure you have “GUID Partition Table” option enabled:
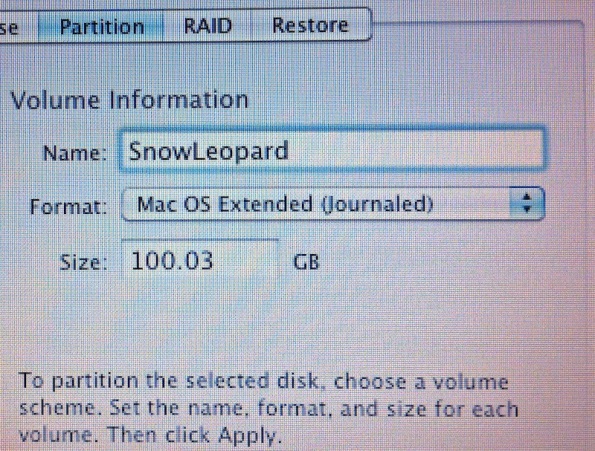
I’m going to name my partition “SnowLeopard”.
Once you’re ready click “Apply” and of course ignore warning:
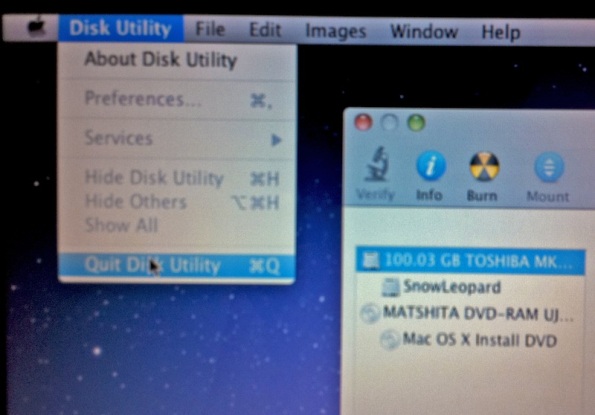
Disk Utility will now partition your hard drive. Once it’s done quit application.
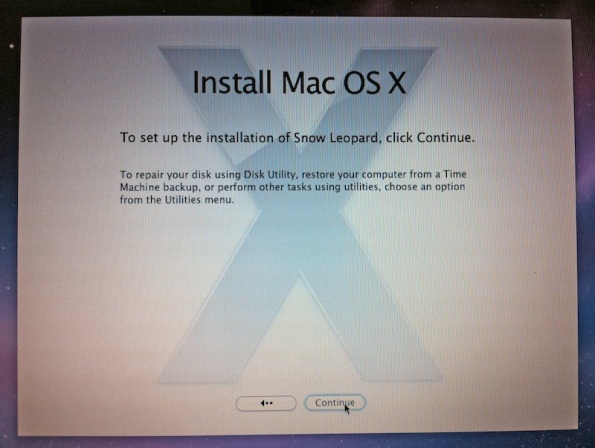
Familiar screen appears again:
This time go ahead and click “Continue”.
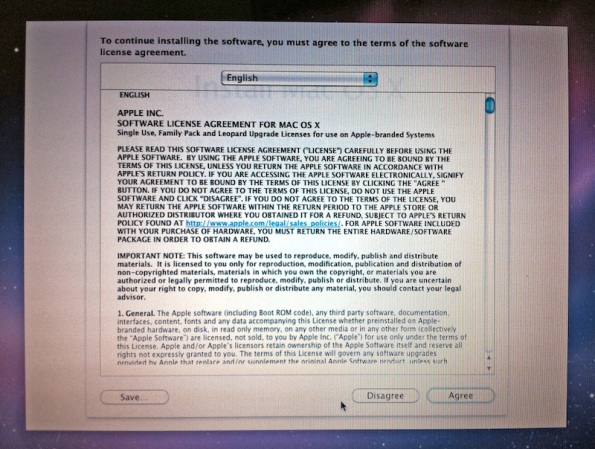
Read (or skip) the agreement. Just “Agree”.
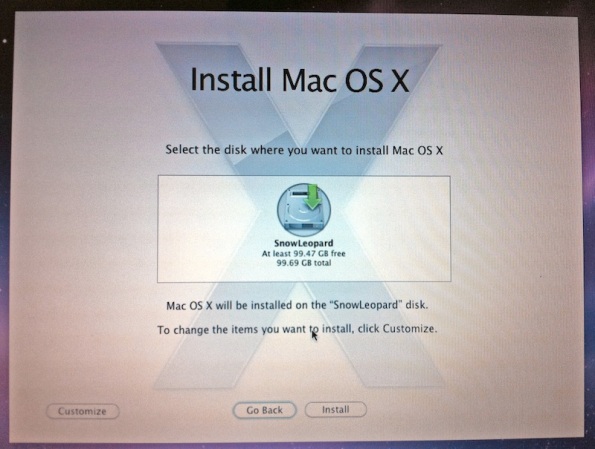
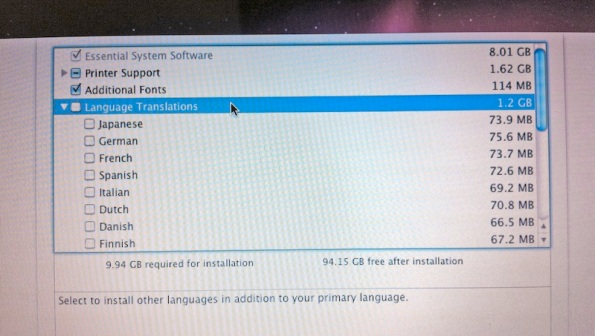
After formatting the hard drive is ready for OS X. Before hitting “Install” you may customize your installation, so go ahead and click “Customize”.
I’m going to skip language translations. That saves 1.2 GB of space.
But I want to have Rosetta and QuickTime 7. I’m also going to install additional fonts and printer support for most popular models.
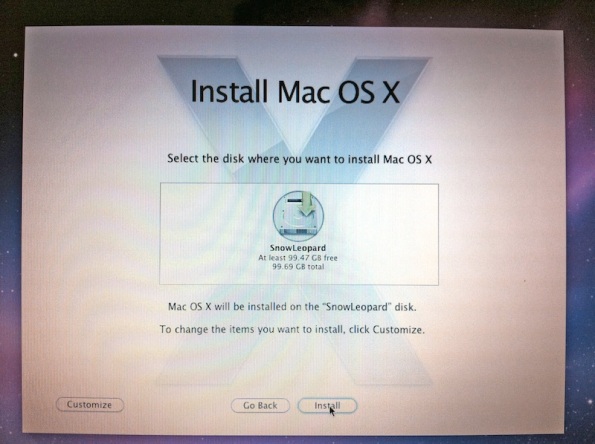
Finally install!
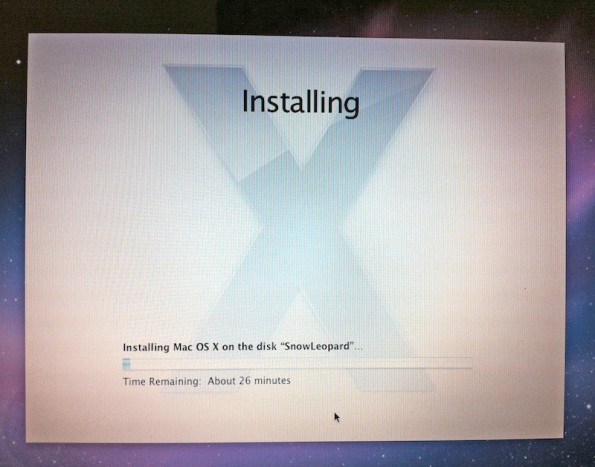
The installation will take some time. In my case it was approx. 30 minutes.
My strong advice is to keep an eye on your computer during installation as it happened to me once that the installation just froze in the middle. Then I’ve noticed that the fan stopped working. Laptop was becoming dangerously hot, so I had to shut it down and start all over again. Next time everything went OK, so just monitor the progress from time to time.
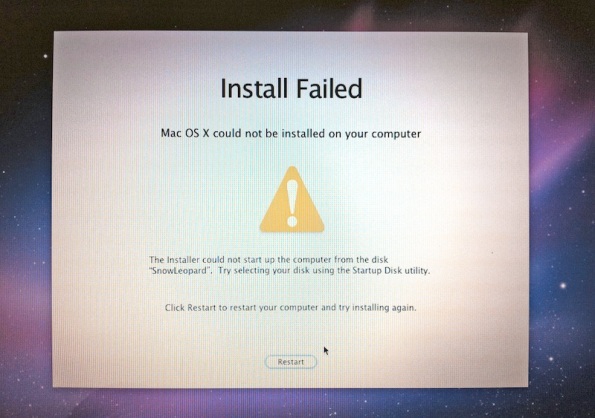
Anyway once the installation is complete you should see this:
Don’t panic. Everything is fine, at least according to the plan.
Click “Restart”. One more time change the boot order (F2 or F12), remove OS X installation disc and place Empire EFI one more time into CD/DVD drive. Boot from CD.
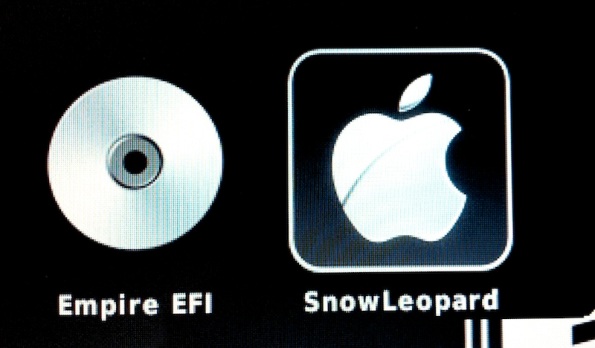
This time you should see this:
Before choosing “Snow Leopard” you need to type once again:
GraphicsEnabler=Yes
One more time matrix:
And finally – YES!!!! The intro video (probably with no sound, we will fix it later).
In case you wish to see it again, here is a YouTube link.
At this point you earned my congratulations. Seeing the intro means that the installation was successful.
There are few more things that need to be done, but the first major step is complete.
Welcome to the dark side!
You may go ahead to Fixing Installation.
